
Masai Mara Photography Tips: Cameras, Vehicles and Fieldcraft
A lion can sleep for an hour, stand in three seconds and walk into the light. Preparation turns that second into a photograph.
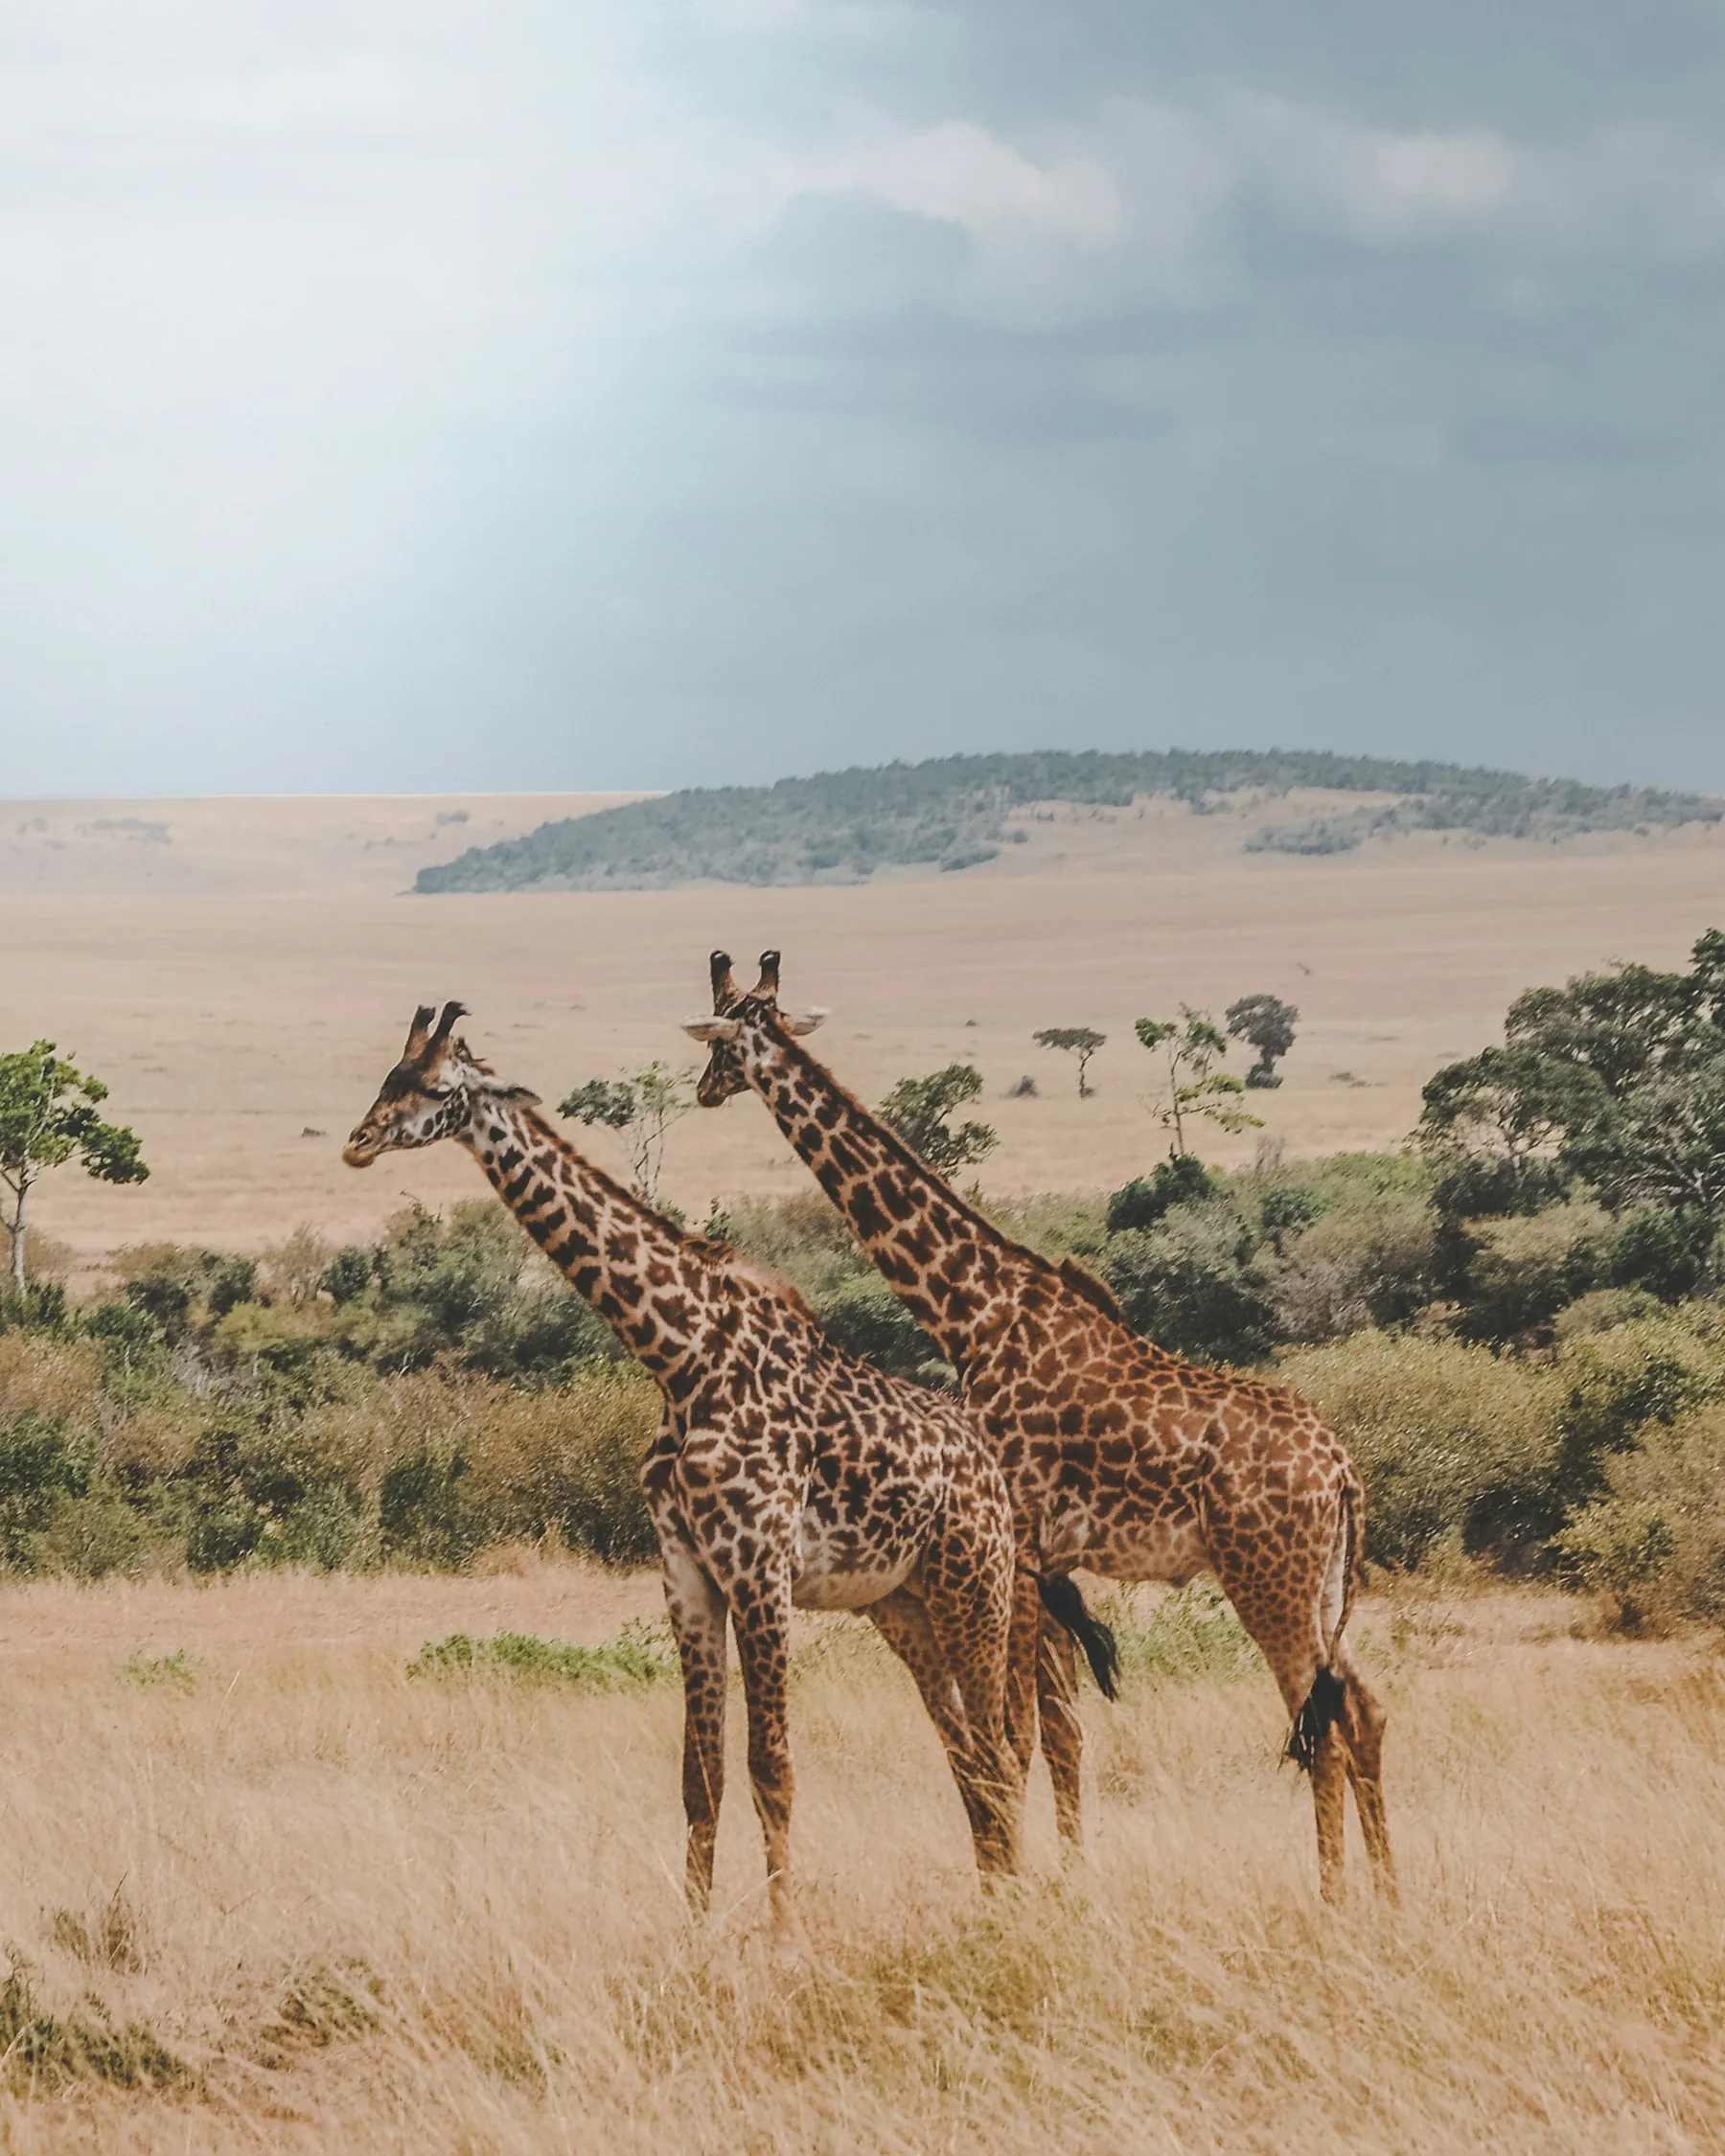
These Masai Mara photography tips begin with the decisions that matter most: a patient guide, enough time, a suitable vehicle, simple camera controls and respect for the animal. A 100-400mm or similar zoom is versatile for most travellers, while a second body or wider lens preserves landscapes and close encounters.
- Masai Mara photography tips at a glance
- Choose the right safari vehicle
- Work with the driver-guide
- Camera bodies and lenses
- Exposure and autofocus
- Choose a season for the pictures you want
- Dawn, dusk and difficult sun
- Portraits, landscapes and behaviour
- Subjects and locations around the Mara
- Photographing migration and river crossings
- Dust, rain and heat
- Charging and file backups
- Wildlife and people photography ethics
- Editing and captions
- A complete Mara photography day
- Photographers travelling with non-photographers
- Traveller opinions
- Watch a photographer work in the Mara
- FAQs
Masai Mara photography tips at a glance
A productive Mara photography day begins before sunrise with charged batteries, formatted cards and a clear plan. It continues with a guide who understands light, backgrounds and animal behaviour. The camera is only one link in that chain.
Decide whether photography is the group’s main purpose. A shared vehicle can work for relaxed snapshots, but it becomes frustrating when one guest wants another hour with a leopard and another wants breakfast.
| Decision | Practical choice | Why it matters |
|---|---|---|
| Vehicle | Private with open sightlines | Controls position and time |
| Main lens | 100-400mm class zoom | Flexible for changing distance |
| Second view | Wide zoom or phone | Landscape and close wildlife |
| Support | Beanbag or monopod | Stability without tripod clutter |
| Storage | Multiple cards and two backups | Protects irreplaceable files |
| Guide brief | Subjects, light and pace | Turns driving into fieldcraft |
Choose the right safari vehicle
A pop-up roof Land Cruiser offers shade and standing sightlines, while open-sided conservancy vehicles can create lower angles and quick direction changes. Neither is automatically best. Ask how many photographers occupy each row, whether seats can be removed and where beanbags rest.
A private vehicle is the largest practical upgrade for a serious photographer. It lets the guide wait, reverse for background separation and leave a crowded sighting. It also allows a non-photographer partner to return early without ending another guest’s drive.
Work with the driver-guide
Before the first drive, show the guide three photographs you admire. Explain whether you prefer behaviour, portraits, birds, landscapes or backlight. Ask for the guide’s wildlife reading in return. The collaboration works when neither person treats the other as a machine.
Use short directions: forward one metre, engine off, lower angle if safe, leave space in front of the animal. Never ask for illegal off-road driving or a position that blocks wildlife. A good frame is not worth changing an animal’s decision.
Camera bodies and lenses
A 100-400mm, 200-500mm or similar zoom covers much of the Mara from a vehicle. A 70-200mm is excellent for larger animals and environmental portraits. Very long primes deliver reach and light but add weight, cost and slower reframing.
Two bodies reduce lens changes in dust and provide redundancy. One can hold the long zoom and the other a wider lens. If using one body, resist constant swapping. Dust on a sensor can be cleaned; a rushed change can also drop equipment or miss the moment.
Exposure and autofocus
Wildlife action punishes menus. Learn shutter speed, aperture, ISO and exposure compensation before travel. Use continuous autofocus and burst modes thoughtfully. A bird taking flight may need a much faster shutter than a resting lion.
Auto ISO with a chosen minimum shutter can work well as light changes. Check highlights on pale fur and bright sky. Review enough to catch an exposure problem, then return attention to the animal rather than editing in the vehicle.
The numbers below are safe starting points, not commandments. Begin there, make one sharp frame, then respond to the animal and the light. Image stabilisation helps with camera movement, but it cannot freeze a running cheetah.
| Subject | Starting shutter speed | Aperture and ISO approach | Focus and burst |
|---|---|---|---|
| Resting lion or leopard | 1/500 second | Open the lens enough to soften a busy background; use Auto ISO | Continuous autofocus, single point or small zone, short bursts |
| Walking animal | 1/1000 second | Keep enough depth for the face and shoulder; let ISO rise as needed | Track the nearest eye or head, medium burst |
| Running predator | 1/2000 to 1/3200 second | Prioritise shutter speed over a perfectly clean ISO | Continuous tracking and high burst, but stop when the buffer needs air |
| Bird in flight | 1/2000 second or faster | Use a workable aperture and check bright sky compensation | Wide tracking zone until the bird is acquired |
| Elephant herd or landscape | 1/500 to 1/1000 second | Close down enough to hold several animals and the habitat | Single frame or low burst, focus on the leading subject |
| Intentional motion blur | 1/15 to 1/60 second | Lower ISO and pan smoothly with the animal | Continuous focus, short controlled bursts |
Dawn, dusk and difficult sun
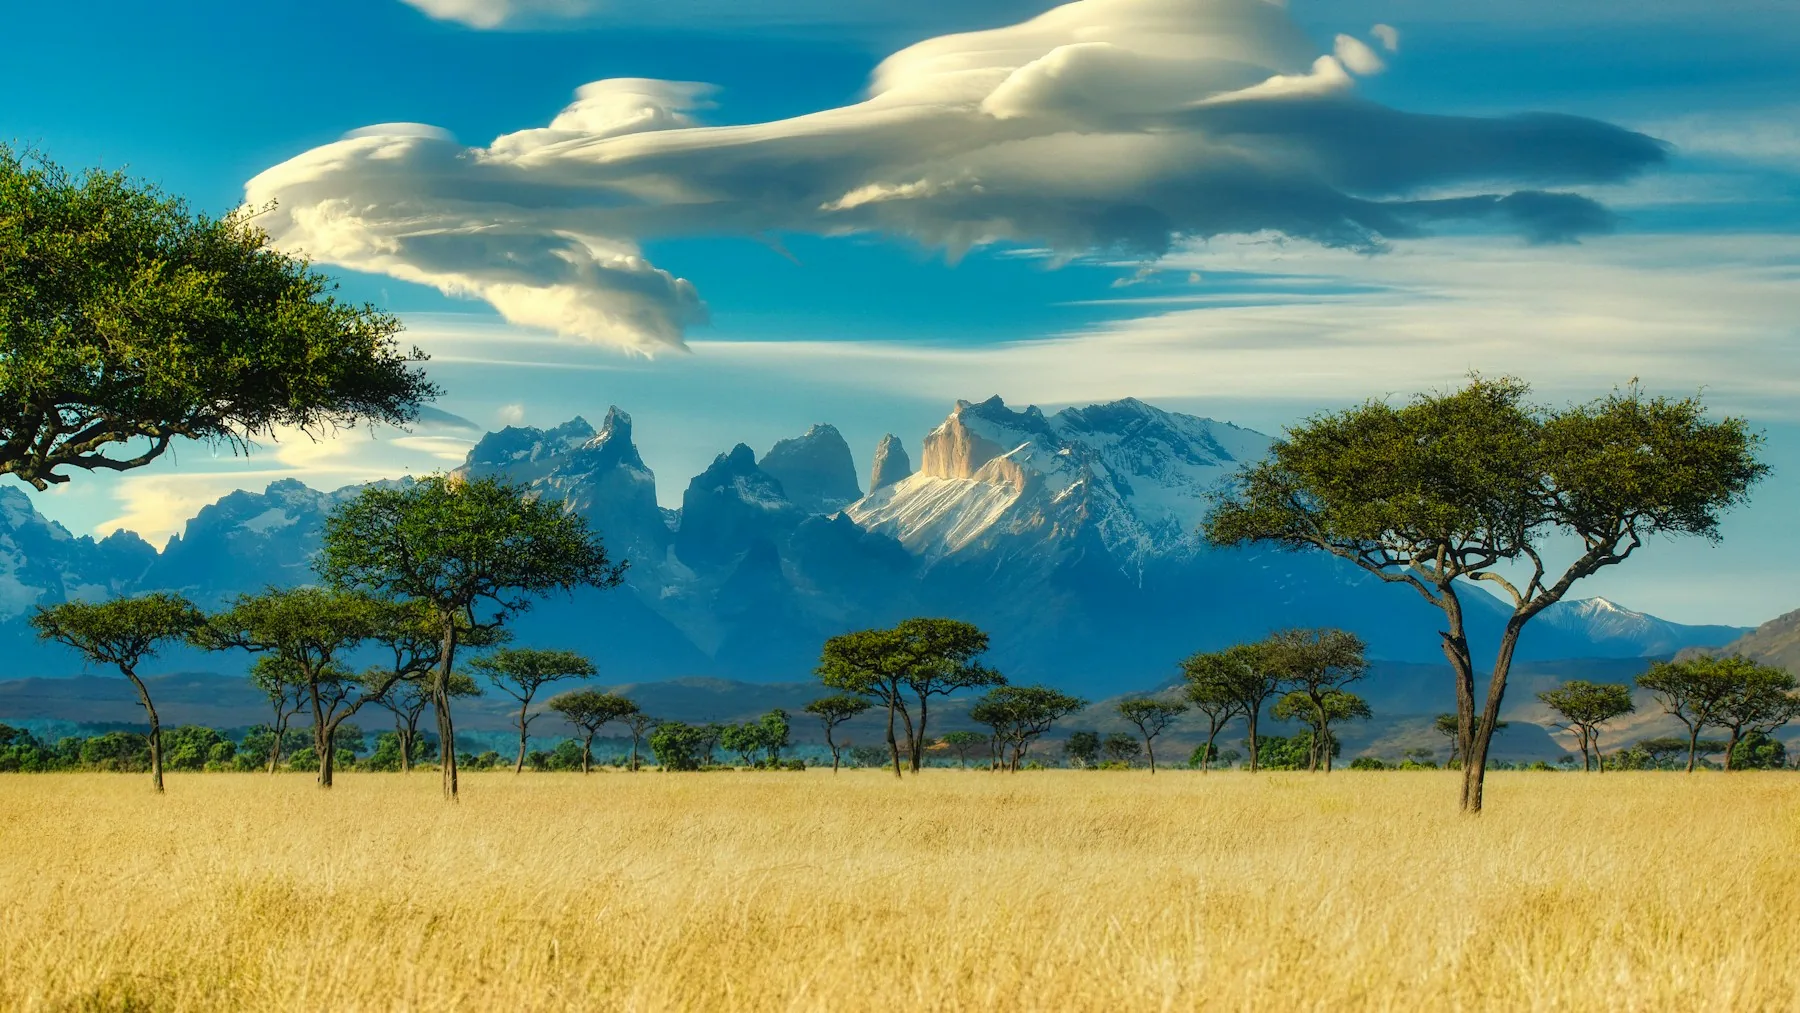
At dawn, mist and cool colour can separate layers. Low sun brings texture to fur and grass. Backlight can turn dust, mane and breath luminous when exposure protects the rim. Late afternoon repeats the opportunity with warmer tones.
Midday is not wasted. Look for elephants at water, graphic shadows, birds in flight or intimate behaviour in shade. A harsh hour can also be a good time for lunch and battery management if wildlife rests.
Choose a season for the pictures you want
July to October attracts photographers for migration herds, dry grass, dust and river activity. It also brings more vehicles to famous sightings. A dramatic event with a cluttered background can be harder to photograph than an ordinary morning spent alone with a topi on a ridge.
January and February often bring clear mornings, warm grass and good predator viewing. The wetter months can be visually richer: green plains, storm clouds, newborn animals, flowers and reflective light after rain. Mud and showers ask more of the vehicle and camera cover, but the colour palette changes completely.
| Broad period | Photographic character | Strong subjects | Trade-off to plan for |
|---|---|---|---|
| January to February | Warm, relatively dry and often clear | Predators, golden grass and long drives | Heat shimmer can soften distant midday subjects |
| March to May | Green, stormy and changeable | Cloudscapes, young animals, saturated colour and birds | Rain, mud and possible road delays |
| June | Fresh grass with cooler mornings | Landscapes, resident wildlife and quieter sightings | Migration timing remains uncertain |
| July to October | Drying plains, dust and large herds | Migration stories, crossings and predator action | Busy vehicles near celebrated sightings |
| November to December | Short rains and renewing grass | Storm light, birds and vivid environmental portraits | Showers can interrupt an exposed shooting position |
For a fuller weather and crowd comparison, use our month-by-month Kenya safari guide. If a river crossing is the main hope, read the Great Migration river crossings guide before choosing dates.

Portraits, landscapes and behaviour
A tight portrait shows eye, skin and expression. A wide frame shows why the animal is there. Make both before the scene changes. Leave space in the direction of movement and check the edges for cut limbs, vehicle roofs or bright distractions.
Behaviour creates a sequence. Photograph the approach, interaction and aftermath, not only the dramatic peak. A grooming lion, alert impala or elephant greeting often says more about the Mara than another static headshot.
Subjects and locations around the Mara
The Mara is not one endless plain. Riverine forest, open grassland, rocky kopjes, seasonal streams and the escarpment each change the light, background and animals you are likely to meet. Camp location matters because a long transfer can consume the first and last light.
| Area or habitat | Photographic strengths | What to discuss with the guide |
|---|---|---|
| Mara River and Talek River corridors | Crossings in season, hippos, crocodiles, woodland birds and animals entering water | Safe waiting position, background, crowd level and whether the herd is still deciding |
| Open short-grass plains | Cheetahs, lions, moving herds and clean sightlines | Wind, hunting direction and space ahead of a moving subject |
| Riverine woodland | Leopards, elephants, primates and layered shade | Small viewing windows, high contrast and branches across the face |
| Kopjes and termite mounds | Animals against the sky, lookout behaviour and environmental portraits | Sun angle and a low position that does not disturb the animal |
| Western escarpment and Mara Triangle | Broad landscapes, storm light and strong geographical context | Whether the route can stay for changing light instead of rushing between sightings |
| Private conservancies | Lower-density viewing, possible off-road access and night-drive opportunities under local rules | Exact vehicle policy, off-road limits, night lighting and guide experience |
No area guarantees a subject. Ask for recent local knowledge, then give the chosen habitat time. Our Masai Mara safari guide explains the wider reserve and conservancy geography.
Photographing migration and river crossings
River-crossing waits can be long, crowded and uncertain. Prepare water, cards and patience. Photograph gathering herds, dust, hesitation, river landscape and the reaction of other species. The story begins before the first wildebeest enters water.
Keep ethical distance and accept the guide’s position. Vehicles should not pressure herds or block approaches. If the crossing does not happen, the accumulated behaviour still belongs to a real migration day.

Dust, rain and heat
Keep cameras covered during fast transfers and ready during slow wildlife viewing. Use a blower, clean cloth and simple rain sleeve. Do not change lenses in blowing dust. Store equipment in a closed bag overnight rather than leaving it exposed to temperature change.
Small aircraft have strict baggage limits. Heavy hard cases and multiple primes may require an extra seat or road transfer. Share the complete kit list before flights are booked.
Charging and file backups
Carry enough batteries for a long drive and label them. Confirm socket type, charging times and whether camps switch power off at night. A multiport charger helps, but do not overload limited room sockets.
Each evening copy cards to a laptop or storage device and a second independent drive. Keep one copy separate. Do not format the card until two backups have been checked. Slow evenings are part of the photography itinerary.
Wildlife and people photography ethics
Stay quiet, keep distance and never ask the guide to bait, call or surround wildlife. Do not publish precise den or rhino locations. If an animal changes direction because of the vehicle, the position was too close.
Ask before photographing people, homes or ceremonies. Permission is a conversation, not a telephoto loophole. If a community visit includes photography rules or payments, follow the host’s arrangement and never treat a person as safari scenery.
| Situation | Responsible response |
|---|---|
| Cat preparing to hunt | Hold distance and do not block |
| Elephant crossing | Stop and leave the route open |
| Crowded sighting | Take a turn or leave for another story |
| Den or nest | Avoid location sharing |
| Portrait of a person | Ask clearly before shooting |
| Drone request | Check aviation and protected-area permission first |
Editing and captions
Begin with selection. Choose frames that reveal behaviour, habitat and progression rather than fifty near-duplicates. Keep colour believable and avoid edits that create a wildlife event that did not occur. Caption the park, month and behaviour accurately.
Credit guides and community hosts where appropriate, while protecting sensitive wildlife locations. Back at home, a small printed sequence can preserve the safari better than thousands of forgotten files.
A complete Mara photography day
The evening before, clean the front element, charge every battery and place formatted cards in the same pocket. Set both cameras to a safe starting point for low light, then sleep. Dawn confusion is where card doors are left open, batteries stay on chargers and yesterday’s high ISO becomes today’s first mistake. A two-minute written checklist is more valuable than another accessory.
At the vehicle, claim a position without taking over the whole row. Secure loose straps and place the beanbag where it cannot fall outside. Tell the guide whether the first priority is backlit plains, birds or a known cat area. The plan can change with tracks and radio reports, but a shared creative intention helps the guide decide which side of a sighting to approach.
When an animal is found, begin with the record frame. Make one sharp, correctly exposed photograph before experimenting. Then vary height, orientation and focal length. Watch ears, tails, herd attention and wind direction. Behaviour usually announces itself. A lion looking past the vehicle may be more important than the lion filling the frame. Let the guide interpret what you cannot see.
During quiet minutes, photograph the ecosystem: tire tracks in dust, a storm edge, grass seed, a ranger at a gate or the empty curve of the escarpment. These frames create transitions in an album and preserve how the Mara felt between famous sightings. Ask permission for identifiable people and avoid photographing security procedures or sensitive rhino information.
After the drive, copy files before shower or dinner if power permits. Mark only a handful of favourites, record species and behaviour with the guide, and stop. A safari night should still contain conversation and sleep. Exhaustion creates sloppy field decisions. The best workflow is the one that returns the photographer to dawn alert, curious and ready to wait again.
Photographers travelling with non-photographers
A photography safari works best when companions know what waiting feels like. Discuss how long the group is happy to stay at one sighting, whether anyone needs a predictable breakfast return and which drives are private. A partner who enjoys watching through binoculars may love the same slow pace. A young child or traveller with back pain may not. Neither preference is wrong.
Build one or two flexible drives where the photographer can stay out with a private guide while others rest at camp. Choose a property with views, a pool, walks or a hide so time apart still feels like holiday. Shared expectations protect both the relationship and the photographs.
Also make a few pictures for the group rather than only of wildlife. Photograph the vehicle, camp mornings and companions watching an elephant. Ask permission and then put the camera down for part of one sighting. The image archive should remember who travelled, not pretend the photographer crossed the Mara alone.
Watch a wildlife photographer work in the Masai Mara
An independent photographer’s field vlog shows something a settings list cannot: long quiet stretches, changing distance, imperfect light and the speed at which a calm sighting becomes a photographic decision. Watch Safari in the Maasai Mara, Kenya, Part 1, then notice how often the strongest frames come from staying observant rather than firing continuously.
What travellers say after the trip
These are exact words from public reviews and discussions. Each person had their own route, budget and expectations, so the value is in the detail rather than treating one experience as a promise.
I can get locked in on an animal and be perfectly content spending an hour or more with that animal
A first-time safari photographer explaining why a private vehicle matters.
the difference between a shared drive where someone else wants to move on and a private vehicle where the guide is entirely focused on your shot is enormous
A traveller discussing photography-focused camps and guiding.
One friend said half his time was wasted on crowded vehicles where the guide couldn’t get into good angles for the golden hour.
A photographer identifying the gap between a wildlife drive and a photography drive.
90% of the time I’ve wanted a lens longer than 400mm.
A returning wildlife photographer describing the value of reach in the Mara.
If you are going on Safari you NEED a zoom lens
A critique offered after a first Kenya safari, where animal distance changed quickly.
My tip – pick the lens at the start of the day and keep it.
A practical answer to dust, missed moments and the temptation to change lenses repeatedly.
Mara photography questions
What lens is best for the Masai Mara?
A 100-400mm or similar zoom is versatile. Pair it with a wider lens or phone for landscapes and animals close to the vehicle.
Do I need a private safari vehicle?
It is strongly recommended for serious photography because it controls position, pace and how long you stay.
Can I use a tripod in a safari vehicle?
Usually a beanbag, monopod or vehicle mount is more practical. Ask about the exact vehicle before packing.
What shutter speed should I use?
Use a fast speed for moving animals and increase ISO when necessary. Exact settings depend on light, lens and subject.
Is a phone enough?
A phone can make excellent landscapes, videos and nearby portraits, though distant wildlife will be limited.
Can I fly a drone in the Mara?
Do not assume so. Protected areas and Kenyan aviation rules require permissions, and wildlife disturbance is unacceptable.
How many memory cards should I bring?
Bring several trusted cards, rotate them and make at least two backups whenever possible.
Can I photograph Maasai people?
Only with clear permission. Respect privacy, cultural rules and any agreed community arrangements.
What is the best light?
Early and late light is soft and directional, while storms, dust and backlight can also create strong frames.
Can NLS arrange a photography safari?
Yes. NLS can plan a private vehicle, appropriate camp, baggage-conscious flights and a pace suited to photographers.
Sources and further reading
Official park, heritage, tourism, aviation and regulatory sources support the practical details in this guide.
Give the photograph time to happen
Share your gear, skill level and subjects. We will shape vehicle, camp and drive rhythm around the pictures you want to make.
Plan a Mara photography safari
Tell us dates, photographers, gear, target species, vehicle preferences and comfort level.