
Kenya Safari Photography Tips: Better Pictures Without Chasing the Animals
A useful field guide to light, settings, vehicle position, dust and the moments worth waiting for across Kenya’s wildlife areas.

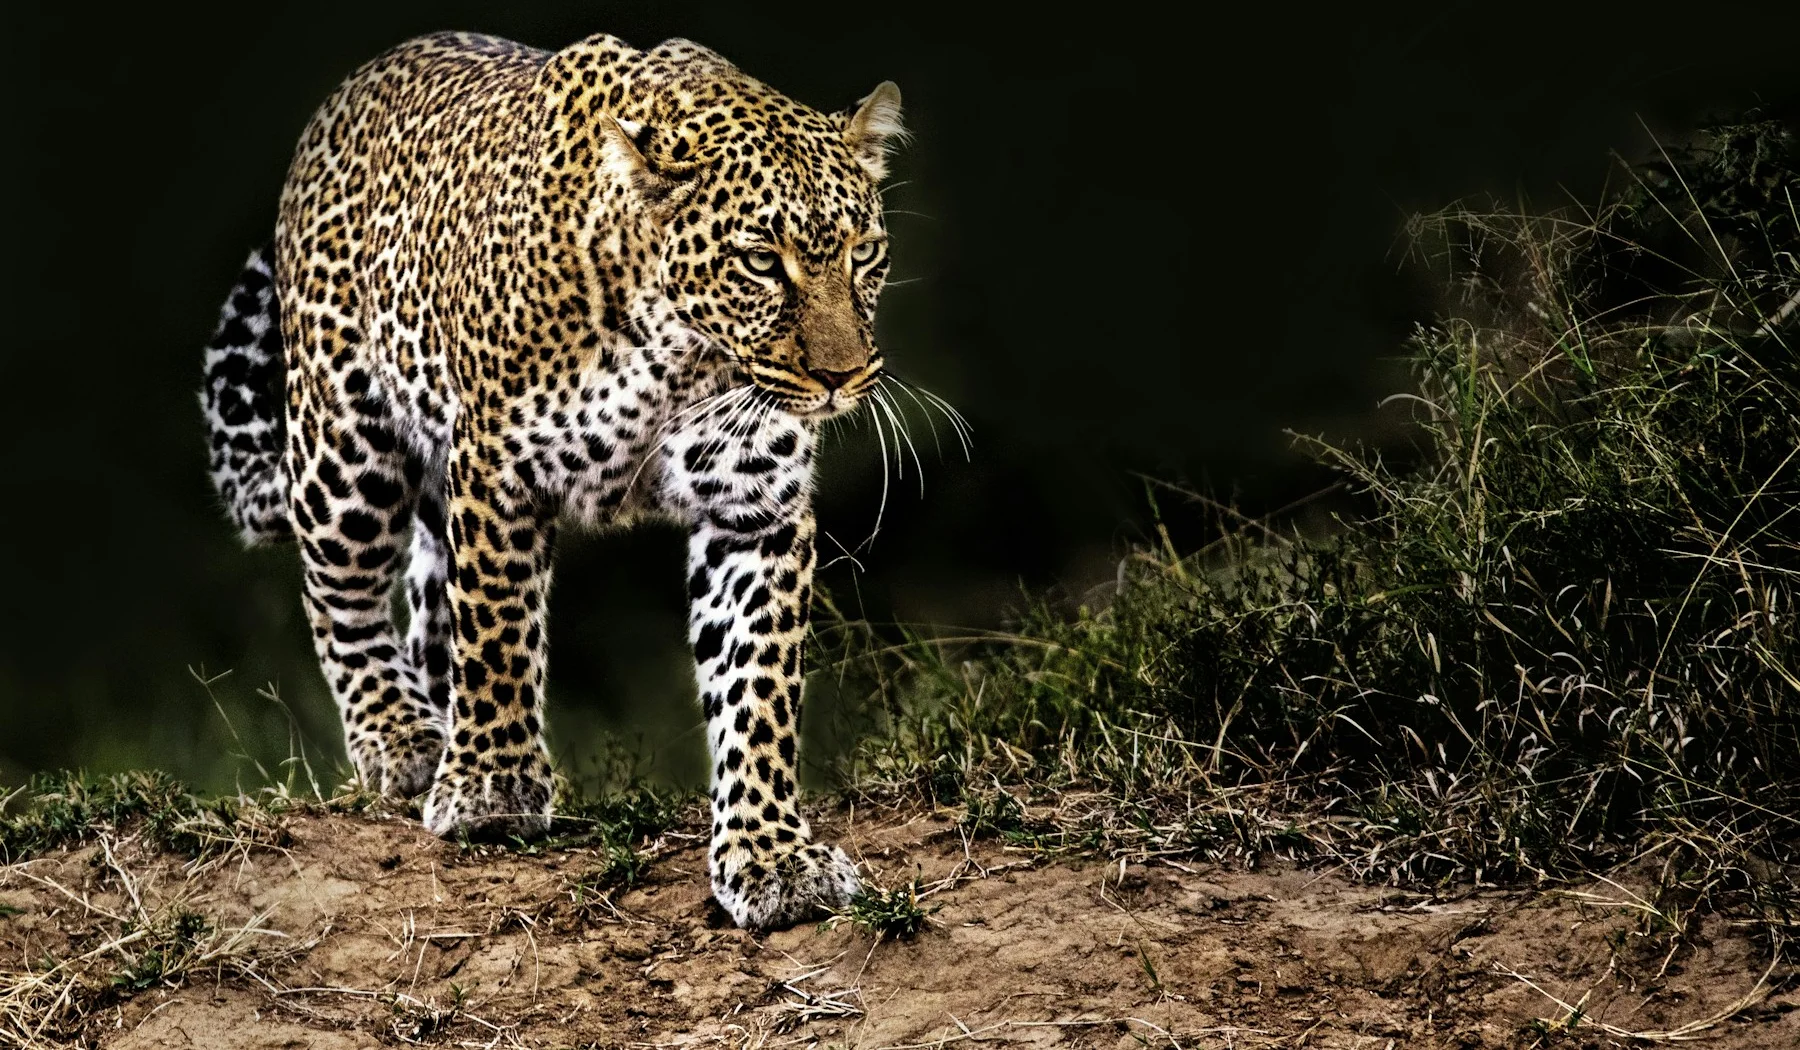
A leopard has been asleep in the same tree for twenty minutes. Cameras rise every time a paw twitches. Then the guide notices an impala crossing beneath the branches. The leopard’s eyes open. That is the moment to check shutter speed, clear the edge of the window and leave room in the frame for the animal to move. It is also the moment when a guide who understands your picture can be worth more than another lens.
Kenya safari photography is a series of choices made before and during a sighting: where you sit, whether the light is behind the animal, how long the vehicle waits, and whether a dusty lens change costs you the next frame. This guide is for the visitor who wants stronger images, not a shopping list for a professional shoot. We already have a destination-specific Masai Mara photography guide and a Kenya photography safari planning page. Here the emphasis is on what to do from the seat, in changing light, with the equipment you actually bring.
The photograph begins before the camera rises
Tell your guide what kind of pictures you hope to make. A portrait of a lion needs a different position from a lion in a wide grassland. A bird in flight needs open sky and room ahead of its path. A family group of elephants often looks better with space around them than cropped tightly to a single trunk. Guides cannot control wildlife, but they can often notice direction, behaviour and the next place a legal road gives a useful angle.
When you reach a sighting, take a quick insurance frame, then look away from the screen. What is the animal doing? Is there a second animal outside the viewfinder? Are you shooting into bright sky, or is a dark tree behind the subject? These observations matter more than taking forty nearly identical photographs of an animal that is not moving. Wait for an interaction, a glance, a step or a gesture. David Clode describes how his Mara guide Collins anticipated a leopard’s movement before the photograph below; the story is about fieldcraft, not about disturbing the cat.
Camera settings: start here, then respond to the light
There is no single “safari setting.” A lion resting in shade, an elephant walking in bright sun and a bird taking off are different subjects. A practical starting point on a camera with manual controls is shutter-priority or manual exposure with Auto ISO. Choose the shutter speed you need for movement, let ISO respond to changing light, and watch whether the aperture and highlights remain acceptable. Nikon’s shutter-speed guide explains the motion principle. These numbers are starting points, not a claim that every camera, lens or sighting will yield a sharp image.
| Subject and conditions | Starting shutter speed | What to watch |
|---|---|---|
| Resting animal from a stopped vehicle | About 1/500 second | Movement of the animal or vehicle can still blur the eyes |
| Walking elephant or lion | About 1/1000 second | Follow focus on the head; leave space in its direction of travel |
| Running mammal or bird in flight | About 1/2000 second or faster if light allows | High ISO may rise; sharp action can matter more than low noise |
| Landscape from a stationary vehicle | As needed for a steady frame | Depth of field and the horizon may matter more than speed |
| Dawn or dusk | Fast enough for the animal’s movement | Do not blindly use the bright-midday settings when light falls |
For a still portrait, put focus on the nearest visible eye if your camera can do it reliably. For action, use the continuous autofocus mode you know and practise tracking before the trip. Review a few frames at full magnification, not just the small rear-screen preview. If the eye is consistently soft, raise shutter speed, improve support or change focus behaviour. Do not spend the entire drive adjusting menus. Learn your camera at home on birds, pets or traffic.
If you use a phone, the same visual decisions apply. Tap to focus and expose on the animal, steady the phone against the vehicle without leaning outside it, and avoid aggressive digital zoom that turns detail into mush. Use a burst or short video for fast action, but keep a wider environmental frame too. A phone can make a strong image when wildlife is near and the light is good; it cannot always resolve a distant cat without a telephoto lens.
The vehicle is a camera support and a shared space
A pop-up roof can offer a view over the grass, but standing is not always best for a steady frame. Leaning a beanbag on a solid sill or resting elbows on the vehicle can help, provided nothing touches or endangers the driver and you can keep the lens inside the vehicle. An open-sided camp vehicle gives an unobstructed sightline but exposes equipment to dust and rain. Ask what vehicle you will actually have, how many people share it and whether each has a clear side. Our private Land Cruiser guide covers the road-safari vehicle, and the private safari page explains the control a dedicated vehicle gives you.
If the vehicle is shared, talk about photo stops before departure. One guest may want to wait twenty minutes for a bird to turn; another may want to find elephants. Neither is wrong, but the day belongs to everyone. A private vehicle buys time and angle choice more than privileged wildlife access. It is not permission to block animals or leave a track where that is prohibited.
Watch the background. A small movement along a legal road may place clean grass behind the subject instead of a white sky or another vehicle. Ask the guide for that angle rather than demanding “closer.” Sometimes moving is impossible or unfair to other vehicles. Then change your composition: include the landscape, frame the animal between branches or wait for it to step into a clearer space.
The useful light is not always the prettiest sky
Early and late light is gentle and low, and the animal can have shape and colour that flat midday light loses. It can also be dim: a moving subject may require a higher ISO than you hoped. The middle of the day is not a failure. Look for graphic patterns on zebra, reflections near water, birds against a dark bank or wildlife resting in clean shade. A cloudy day can soften harsh contrast and make it easier to hold detail in both hide and sky.
If the sun is behind an animal, choose deliberately. Expose for a silhouette with a clear outline, or adjust exposure so fur and eyes remain visible. Do not rescue every backlit photo by dragging shadows up until it looks grey and noisy. A herd crossing a dusty road may work beautifully with backlight if the dust glows and individual shapes remain separate. Turn the camera vertical for tall subjects like giraffes, then make a horizontal frame that shows where they are.
Try a small visual sequence rather than a single trophy frame: wide scene, subject in habitat, behaviour, close detail, and the environment after the animal passes. That gives the person who was not there a sense of the morning. It also takes pressure off the idea that only a close predator portrait counts as a successful day.
What changes between Kenya’s wildlife areas
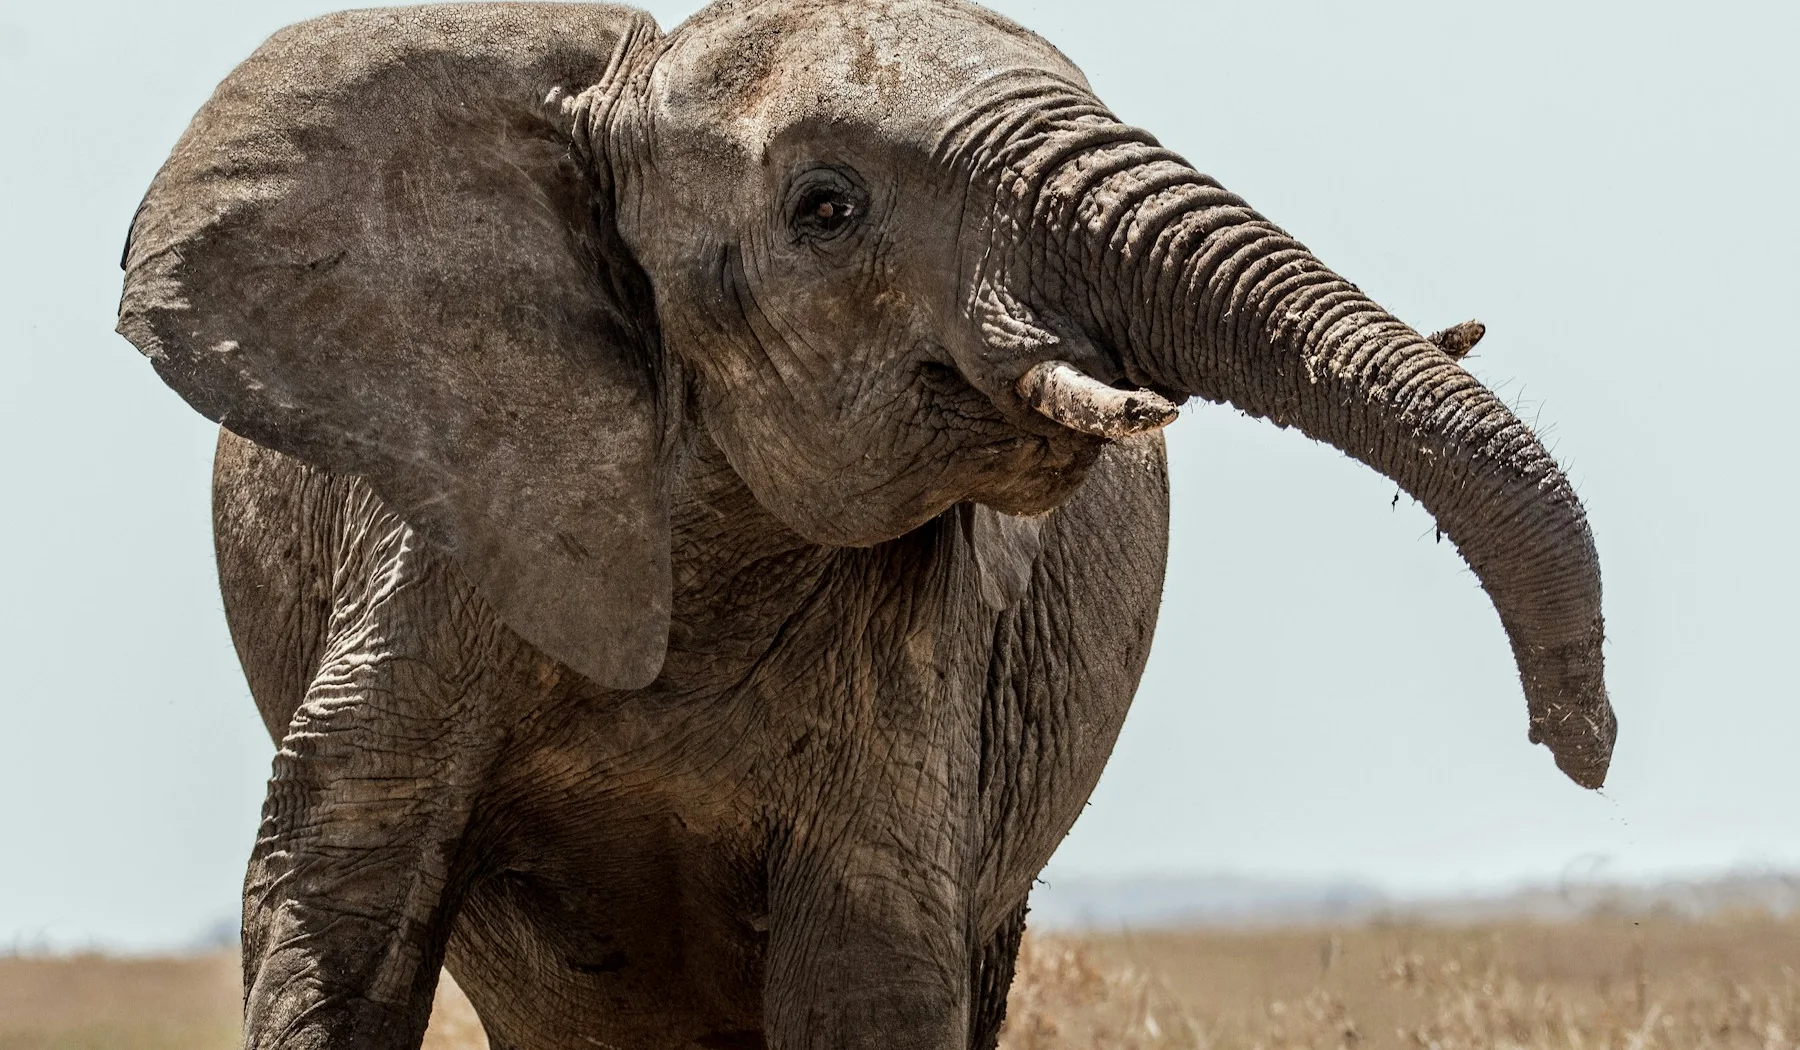
Choose parks for the experience you want, not a guarantee of a species or a perfect image. The Mara’s open grassland can give clear sightlines, but a popular sighting may have several vehicles. Amboseli’s elephant herds and open, dusty areas can be visually striking; Kilimanjaro is weather-dependent. Lake Nakuru offers different light and backgrounds around woodland, lake and rhino areas. Lewa, Ol Pejeta and other conservancies have their own habitats and operating rules. Exact wildlife locations and road access are never fixed.
| Area | Photographic opportunity | Practical trade-off |
|---|---|---|
| Masai Mara | Grassland subjects, predators, herds and wide storytelling frames | Vehicle numbers and sighting positions vary by sector and season |
| Amboseli | Elephants, open space, dust and occasional mountain backdrop | Dust care and shifting cloud over Kilimanjaro |
| Lake Nakuru | Woodland, lake-edge birds and varied backgrounds | Light can change quickly around trees; bird numbers fluctuate |
| Lewa or Ol Pejeta | Different landscapes and rhino-related wildlife viewing | Access and photography rules depend on the specific property |
Do not plan a migration trip as if a river crossing is a daily performance. Even in season, animals choose when and where to move. Build enough days to enjoy the Mara itself, and use our river-crossings guide to understand the uncertainty. A careful portrait of a common antelope can be better than a distant, crowded crossing frame.
Bring the kit you can carry and use
A flexible telephoto zoom is often more useful than a lens that only works when the animal is far away. Wildlife may come surprisingly close, so a second, wider view can tell the story. That could be a second camera, a compact camera or a phone. You do not need to buy a professional super-telephoto to have a memorable record. If you rent unfamiliar equipment, practise its autofocus, controls and battery routine before flying.
Light aircraft baggage limits can change what fits. Airline allowances vary by carrier, aircraft and ticket, and camera bags count toward weight unless the airline confirms otherwise. Review the operating airline’s written rules before choosing gear. Our bush-flight baggage guide covers the soft-bag and weight problem in detail. A lens left unused because it was too heavy to lift in a crowded vehicle has not improved the trip.
Bring spare batteries and cards and know where the camp will let you charge. A small beanbag may be easier to use than a tripod in a game vehicle, but ask whether the vehicle has a safe resting surface. A cloth for protecting a camera while the vehicle moves, a blower for loose dust and a rain cover are practical. Avoid wiping gritty dust across glass. If your camera has a delicate sensor, follow the manufacturer’s cleaning instructions or use a qualified service rather than improvising in camp.
Dust, power and photographs you can still find later
Amboseli can be especially dusty in dry conditions, but every unsealed track can coat equipment. Prepare your lens choice before the drive, keep caps and cards contained, and minimise changes in a moving vehicle. If you have only one body, accept that you may miss a wide picture while the telephoto is mounted. That is better than repeatedly exposing the sensor to dust to chase every possibility. Two bodies can help if budget and baggage allow, but they are not compulsory.
Each evening, charge what you used, copy photos to a second device if you have one and check that the copy opens before formatting a card. If camp power is intermittent, put charging and backup into the day’s plan, not the last hour before departure. A good file name or dated folder is less romantic than a lion photograph but much more helpful when thousands of frames look alike.
A photograph is not worth disturbing the animal
The Kenya Wildlife Service park rules tell visitors to stay on established roads and trails, remain in vehicles outside designated areas, avoid feeding wildlife and keep a respectful distance. Rules can differ between a national park, the Mara reserve and individual conservancies; follow the guide and the rules for the exact area. Do not ask a driver to cut across habitat, block a crossing, separate a mother from young or pressure an animal toward the camera. Keep drones and artificial lights out of the plan unless the specific authority has approved them.
A long lens is helpful partly because it lets the animal stay where it is. When a subject shows stress or changes behaviour because of a vehicle, the right response is to give it room. Be just as considerate of people: ask before photographing a guide, camp worker or community member, and respect a refusal. Nikon’s wildlife guidance puts the animal and environment ahead of the image, and that is a good field rule regardless of camera brand.
What photographers learned after travelling
These independent accounts do not agree on an ideal lens. That is useful: reach, weight, dust and the style of picture you want pull in different directions.
The alkaline dust in Amboseli was brutal; even with careful lens changes, I still ended up with noticeable spots on the sensor by day three.
This photographer had just returned from Amboseli and the Mara. The practical lesson is to plan lens changes and cleaning rather than assuming weather sealing makes dust disappear.
The last thing you want to do is to be switching lenses in that dusty environment.
A Kenya traveller who photographed Amboseli, Laikipia and Naboisho used two bodies and described a nightly battery and backup routine. Two bodies are not the only solution, but the warning about changing lenses in dust is worth hearing.
I was on safari in Kenya last November and roughly 1/3 of my shots were at 600mm
That photographer’s experience contrasts with people whose animals were close enough for shorter lenses. A long lens can matter, but nobody else’s percentage can choose your kit for you.
The best answer is often to rent or use a versatile lens you already understand, leave weight margin for the flight, and make sure the vehicle and guide give you enough time to use it well.
A one-day shot list that tells a story
On the first morning, begin with a wide frame showing the place: pale light on the plain, mist, a road through grass or a camp waking up. At the first animal, make a safe wide frame before chasing a close portrait. Then wait for action: an ear turning, a bird landing, a calf following its mother. Photograph a detail of the habitat, such as seed heads, tracks or the colour of the ground. At lunch, include a human scale only with permission. In the afternoon, try a different direction of light.
This is not a quota. It is a way to come home with more than one hundred animal heads. Even if a cat never appears, the day can still become a strong sequence of landscape, behaviour, weather and life around the vehicle. Put the camera down now and then. The sighting is still yours without a file to prove it.
Frequently asked questions
What camera settings should I use on a Kenya safari?
Start with a shutter speed that suits the animal’s movement and let ISO adapt to changing light. Around 1/500 second for a resting subject and faster for action can be useful starting points, not guarantees.
Is a 200mm lens enough for safari photography?
It can be useful for nearby wildlife and wider scenes, but distant birds and smaller animals may need more reach. Choose a flexible lens you know how to use and consider flight baggage limits.
Should I bring a second camera body?
A second body can reduce lens changes in dust, but adds weight and cost. One body with a versatile zoom and a sensible dust routine can still work well.
Can I photograph wildlife with a phone?
Yes, particularly nearby subjects and broad landscapes. Steady the phone, tap to focus and avoid excessive digital zoom, which often reduces detail.
Is a private vehicle necessary for photography?
No, but it gives more control over how long you wait and where the guide stops on legal tracks. A shared vehicle can work if everyone understands the drive’s priorities.
Are tripods useful in a safari vehicle?
Often less than expected. Space is limited and the vehicle may move. A stable sill or beanbag can be more practical, subject to the vehicle design and guide’s advice.
How do I protect camera gear from Amboseli dust?
Prepare the lens before the drive, cover equipment while moving, minimise field lens changes and use a blower for loose grit. Follow manufacturer guidance for sensor cleaning.
Can a guide drive off-road for a better photograph?
Do not assume so. Kenya Wildlife Service park rules prohibit off-road driving in its parks, and rules differ by reserve and conservancy. Follow the local authority and guide.
When is the best light for safari photography?
Early and late light often has pleasing direction and colour, but can be dim. Cloud and even midday shade can work for different subjects. Plan around wildlife rather than promising a perfect golden-hour sighting.
More for photographers
Camera settings are starting points, not guarantees. Wildlife behaviour, park access, aircraft baggage rules and accommodation power arrangements vary by location and date.
Plan a photo-minded safari
Tell us your dates, interests, equipment and the type of vehicle time you want. We will discuss a route that suits your photography and your whole holiday.