
Safari Camera and Binocular Buying Guide for Kenya
A lion can fill the frame from a few metres away. A lilac-breasted roller may stay just far enough away to make your phone feel helpless. Here is how to choose what is actually worth bringing.
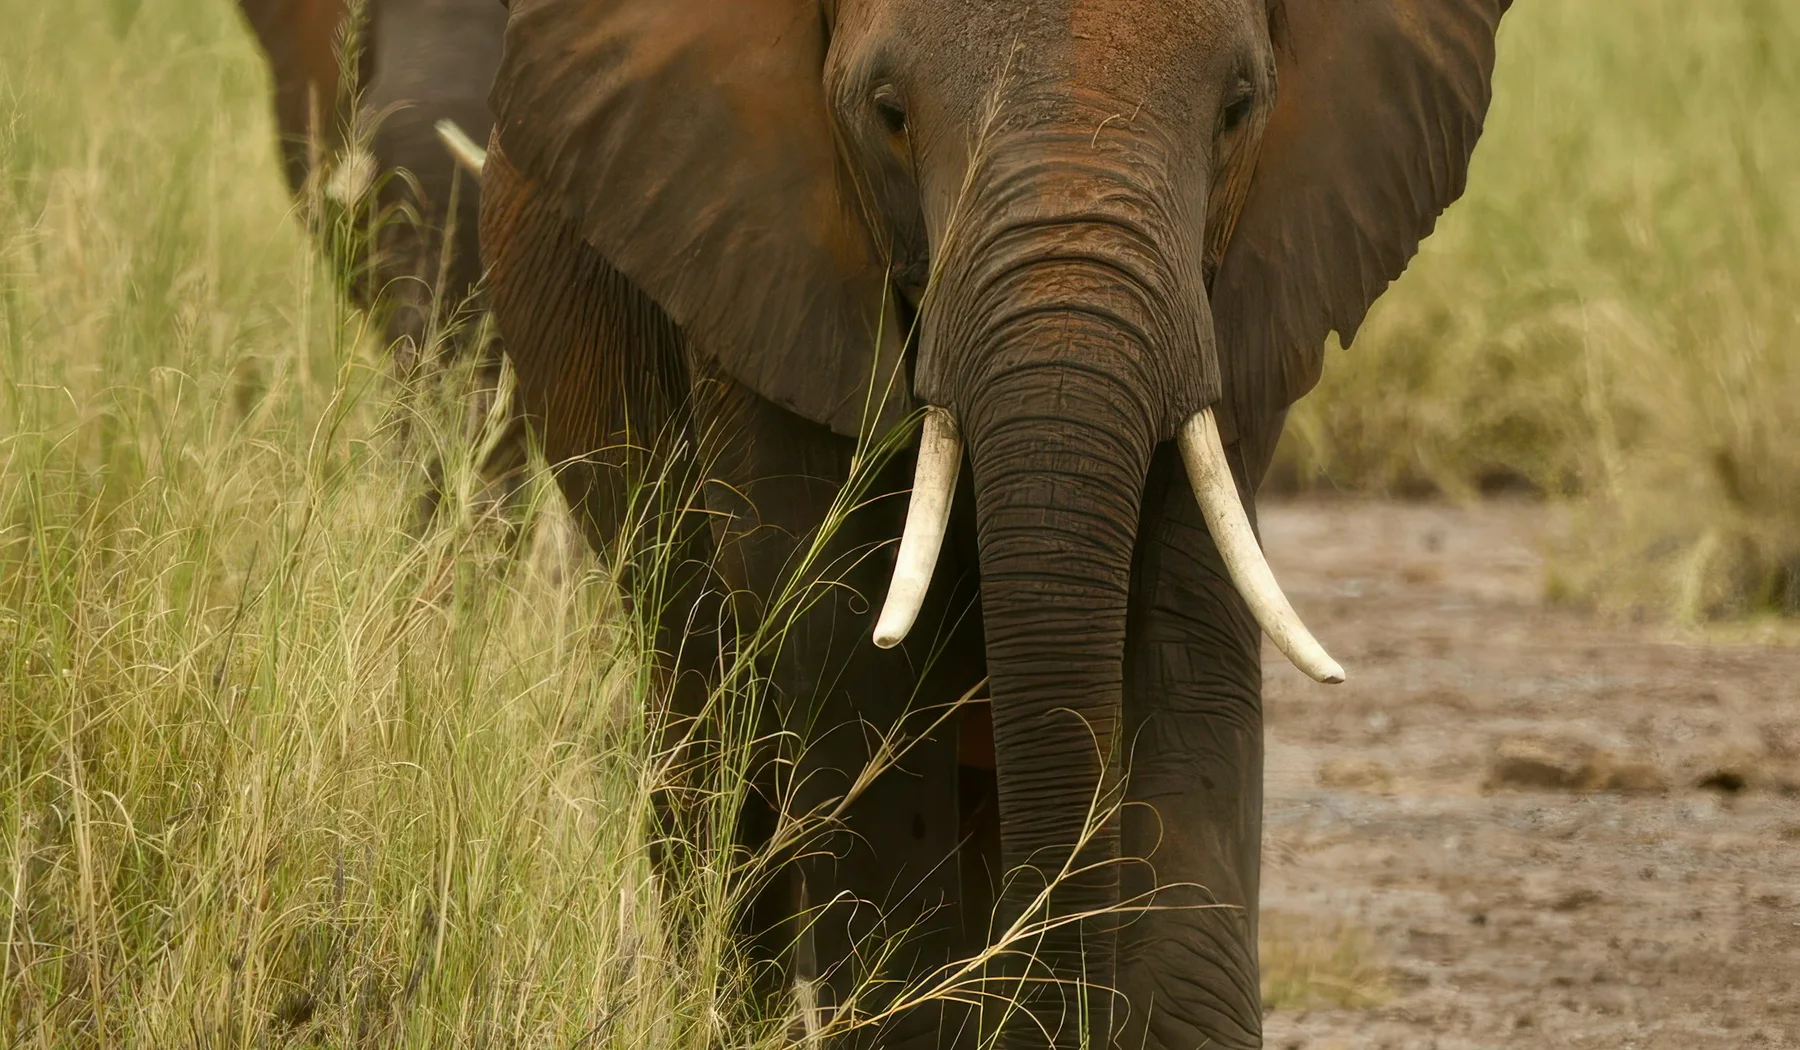
The safari vehicle stops. Your guide points into the grass. Everyone can see the shape of a cat, but the animal is farther away than it looked through the binoculars. One traveller raises a phone; another has a heavy camera with a lens they bought last week and have never used. Neither person is enjoying the moment yet. A good safari kit should get out of the way, not turn every sighting into a test.
This guide is about choosing and packing equipment, not a lesson in shutter speed or composition. If you already own a camera, our Kenya safari photography tips deal with using it in the vehicle. Here we compare a phone, a bridge camera, a mirrorless or DSLR kit, and binoculars. You do not need to buy all of them. In fact, several of the happiest safari photographs are made by someone who knows a modest kit well.
First decide what you want to bring home
If you mainly want a record of the journey, your phone may already be the right camera. It is quick for a breakfast scene, the colour of an Amboseli morning, a friend in the vehicle or an elephant close to the road. Keep enough free storage, a charging cable and a way to back up the pictures. The weakness is distant wildlife: digital zoom enlarges pixels, not detail. It is particularly disappointing for a small bird or a cheetah resting far across the plain.
If you want close portraits of distant animals, a camera with optical telephoto reach helps. If you are especially interested in birds, you may want more reach than someone who photographs elephants and landscapes. If you are travelling with a child, carrying luggage between several camps, or flying into the Mara, weight may matter more than an extra hundred millimetres on paper. The useful question is not “What is the best camera?” It is “Which setup will I lift quickly, hold steady and still want to carry on day six?”
Think about the trip design too. On a private vehicle, you can sometimes wait for a bird to turn or reposition for light within park rules. On a shared drive, others may want to move on. An open-sided vehicle gives a different resting position from a pop-up roof, and you cannot assume a large tripod will fit or be welcome. Our vehicle guide explains those layouts. The guide and vehicle can be a more consequential photography choice than upgrading the camera body.
Four sensible camera paths, from no purchase to a long-lens kit
| Path | Where it shines | Where it struggles | Good fit |
|---|---|---|---|
| Phone you already use | Wide scenes, nearby elephants, people, quick video and easy sharing | Small or distant wildlife, especially in low light | A traveller who wants memories more than a wildlife portfolio |
| Fixed-lens bridge camera | One camera with broad optical zoom and no lens changes in dust | Some models are heavy; small sensors and long-end apertures can struggle at dawn | A traveller who wants reach without managing lenses |
| Interchangeable-lens camera plus one telephoto zoom | More control, better scope for action and low light, depending on body and lens | Cost, bulk, learning curve and exposed sensor during lens swaps | Someone who already enjoys photography or will practise before travel |
| Two bodies or specialist long lens | Ready for near and far subjects without changing lenses in the vehicle | Expensive, heavy and harder to fit into a bush-flight allowance | An experienced wildlife photographer with a specific goal |
A bridge camera is not automatically a tiny travel camera. Nikon’s COOLPIX P1100, for instance, advertises a remarkable 24–3000mm-equivalent optical range, but weighs about 1,410g and uses a 1/2.3-inch sensor. That is a real trade-off: enormous reach in one fixed-lens body, but a smaller sensor and an f/8 maximum aperture at the long end. At a bright midday waterhole it may serve a different purpose from a dim, moving lion at first light. Try to hold any bridge camera at its longest zoom before assuming the number alone will produce sharp pictures.
Do not buy a new body merely because someone else’s safari photograph looked good. The photographer may have been in a better position, waited longer or used a familiar camera perfectly. If you already own a mirrorless or DSLR body, renting a compatible lens and practising at a local wildlife park can teach you more than reading a list of bodies. Check the mount carefully. “Sony lens,” for example, is not enough information to guarantee it fits the Sony body you have.
How much lens do you really need?
Wildlife photographers talk about focal length in millimetres, but a 300mm lens on an APS-C camera frames more tightly than the same lens on a full-frame camera. Compare the 35mm-equivalent angle of view when looking across systems. A zoom that reaches around 300mm equivalent gives a starting point for larger animals; small birds and shy subjects can demand much more. That does not mean you should always buy the longest lens. The longer it gets, the harder it is to frame and hold a moving subject from a bouncing vehicle.
For a concrete compact example, Sony lists the a6700 body at roughly 493g with battery and card, and its E 70–350mm G zoom at about 625g. Together that is around 1.1kg before caps, strap, spare battery, binoculars or bag. On that APS-C body, the lens covers a 105–525mm-equivalent field of view. Those numbers describe a possible size and reach, not a claim that this is the best purchase for every traveller. A different body, stabilisation or autofocus behaviour can change the experience.
Have one wider way to photograph the vehicle, camp and landscape, even if it is simply your phone. A long lens can miss the feeling of an elephant passing close by. At the opposite extreme, buying a fast professional super-telephoto because it promises spectacular backgrounds may leave you with a kit you cannot comfortably lift or take on a light aircraft. Spend a little time on real subjects at home: a dog running, birds in a park, or traffic from a safe place. If your hands, arms or menu knowledge make the setup frustrating, it will not become easier in the Mara.

Dust is another reason to keep the setup simple. Fine dust gets into open vehicles. Avoid changing lenses in a gust at a sighting; if a swap is necessary, wait for a sheltered place. Keep a lens cap or cloth ready, but do not rub grit across glass. A small blower followed by an appropriate cleaning cloth is safer. Carry spare charged batteries and memory cards in separate protected pockets. If the camera fails, the trip does not fail: watch with your eyes and binoculars, and take the phone pictures you can.
Binoculars are for watching, not just finding a photograph
Good binoculars let you see the fold of an elephant’s ear, distinguish a distant cat from a termite mound and follow a bird without taking a photograph at all. A camera viewfinder can help locate an animal, but holding a long lens to your eye for minutes is tiring. If two people travel together and one is often photographing, a second pair of modest binoculars can be more useful than sharing one expensive pair while a sighting disappears.
In “8×42,” the first number is magnification and the second is the diameter of the front lenses in millimetres. Eight-power is relatively easy to hold steady and makes it easier to acquire a moving subject. Ten-power shows more size but also more shake in your hands. A 42mm objective can gather more light than a 30 or 32mm objective, all else equal, but the larger body adds weight. Lens coatings, optical quality and your eyesight matter, so the size numbers are not a complete verdict.
| Format | Likely advantage | Trade-off | Try it if… |
|---|---|---|---|
| 8×30 or 8×32 | Lighter to wear beside a camera, steady view | Smaller exit pupil; may be less forgiving at the edge of daylight | You will walk, fly light or carry a camera too |
| 8×42 | Balanced all-round viewing, comfortable at dawn for many users | More weight on your neck or harness | Binocular viewing is a main part of your safari |
| 10×42 | More apparent reach for small or distant subjects | More visible hand shake, usually narrower field than an 8× counterpart | You can hold it steadily and prefer distant detail |
| 10×50 or larger | Large objective for specialised low-light use | Bulk and weight; often unnecessary for a vehicle safari | You have tried one and know why you want it |
If you wear glasses, bring them when you test binoculars. Twist the eyecups down and check whether you can see the whole image without dark crescents. The printed eye relief number helps narrow choices but is not a guarantee of fit for every face and pair of glasses. Set the hinge for your eye spacing. Focus on a sign or bird, then adjust the diopter once for the difference between your eyes. Try the focus wheel with the same gloves or hand position you expect to use on safari.
At a shop, do not make your decision by peering only at a bright display poster five metres away. Look at fine detail across the street if the shop allows it, turn from shadow to daylight, and hold the binoculars for several minutes. Can you find a moving bird quickly? Does the strap feel like a nuisance? Waterproofing and fog resistance are worth considering for dusty roads and sudden rain, although neither makes careless cleaning safe. A comfortable mid-priced pair you actually carry beats a prestigious one left in the room.
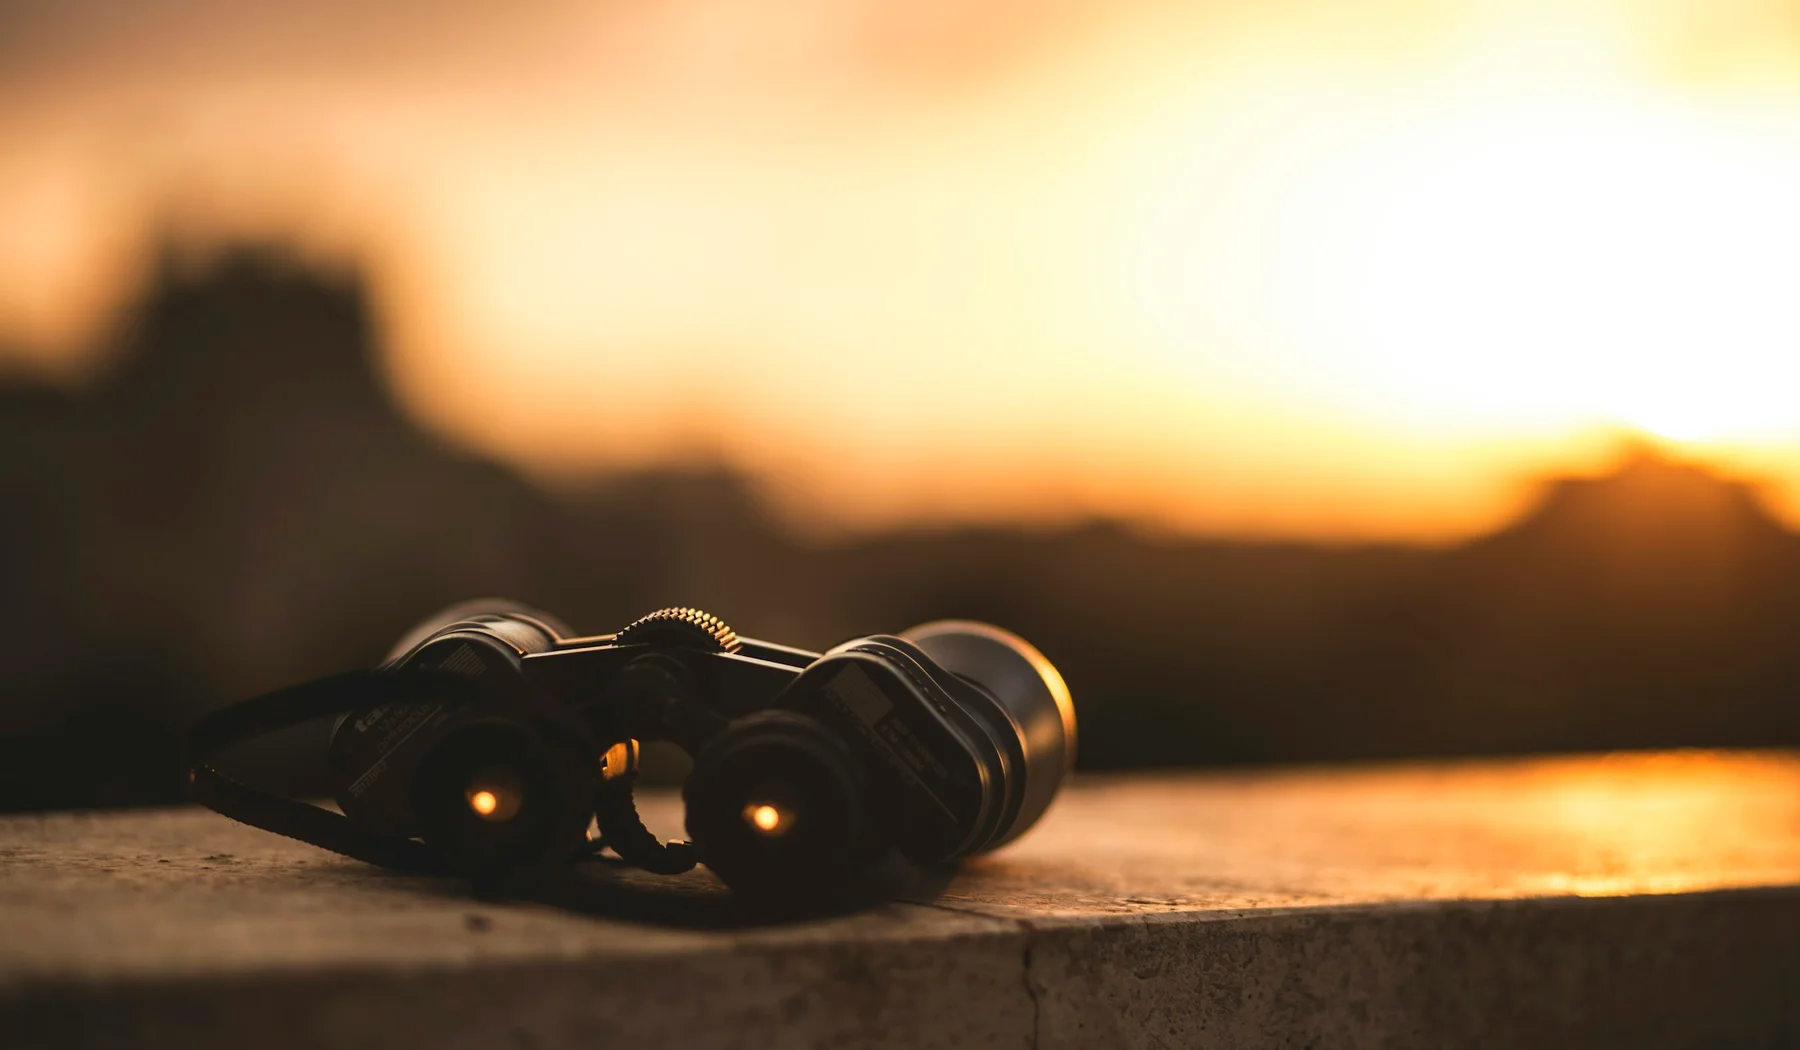
What real binocular specifications tell you, and what they do not
These models are examples to make the numbers tangible, not affiliate selections or hands-on reviews. Nikon lists its MONARCH M7 8×30 at 465g, a 435-foot field of view at 1,000 yards and 15.1mm eye relief. Its M7 8×42 retains that listed field of view but weighs 669g and lists 17.1mm eye relief. The 8×42 has a larger 5.3mm exit pupil, compared with 3.8mm on the 8×30. The difference is about 204g, or roughly a small extra camera battery pack, hanging from your neck all morning.
As another 8×42 example, Vortex lists the Diamondback HD at 21.8 ounces, a 393-foot field of view at 1,000 yards and 17mm eye relief. These manufacturer numbers are useful for shortlisting but cannot tell you which pair looks clearest to your eyes, whether the edge of the view bothers you, or how easily you reach the focus wheel. If possible, compare two or three pairs side by side in the same light. Do not assume the highest magnification is the highest quality.
Your bush-flight allowance includes the things around the camera
A full camera backpack can quietly become the heaviest thing you own on the trip. AirKenya’s published baggage policy describes a 15kg total allowance in soft bags, including hand baggage, for its scheduled safari flights. The booked carrier, route or private charter may have different rules, so use the ticket and carrier’s current instructions for your actual journey. Our Kenya safari airlines and baggage guide explains the wider picture, and the airstrips guide covers the arrival end.
Put the actual camera, longest lens, binoculars, batteries, charger, rain cover and bag on a scale together. Then add your clothes and toiletries. The camera body figure on a product page is not the kit weight. A hard roller case may be wrong for a small aircraft luggage hold even when it is under the weight limit. Ask about an excess-baggage or freight option before assuming you can pay at the strip. If a large lens consumes the allowance, renting equipment locally or choosing a road route may be more sensible than leaving out essentials.
Weight is not just an airline problem. You may lift the kit repeatedly from floor to roof hatch, hold it during a bumpy drive or carry it through a camp. Long lenses and heavy binoculars together pull on the neck. A secure harness or strap can help, but try it at home with the complete kit. If the setup makes you dread carrying it to breakfast, pare it down.
Run a field test before the trip, not beside your first leopard
Charge everything, insert the cards, set the clock and photograph a moving subject in daylight and shade. Check whether autofocus follows it, where the exposure control lives and how to change from video back to still images. Make a backup of a day’s test photos. This reveals the wrong memory card, a rented lens that does not mount, or a charger plug missing from the bag while the fix is still easy.
On a game drive, keep the camera protected but accessible. A padded bag you must unzip through three layers for each sighting is not practical. Switch off loud camera sounds where possible and respect camp or park rules around flash and animal distance. Never ask a guide to leave a permitted track or crowd wildlife for a closer photograph. If a subject is too distant for a meaningful image, the binoculars may give you a better memory than a badly enlarged file.
One small support can outperform another lens. Some photographers rest a camera on a soft beanbag against the vehicle edge where allowed; others simply brace elbows and use stabilisation. A full tripod can be awkward in a shared vehicle and useless if you cannot leave it. Ask about the actual vehicle configuration before packing one. For moving animals, handholding with a fast enough shutter and a steady position is often the more useful skill.
What travellers found useful after the purchase
These are independent first-person accounts, not laboratory tests. Their gear choices differ, but they reveal why there is no universal shopping list.
I took 8×32 with me on Safari and never thought I needed anything more.
In a Kenya-focused binocular discussion, one traveller found a smaller pair sufficient. That does not prove 8×32 is perfect for everyone, but it is a reminder that carrying comfort matters.
I once did a 2 day Kenya safari and all I had was a 35mm prime!
Another traveller in a photography discussion made pictures with a lens most buyers would call too short for wildlife. They did not recommend repeating the limitation, but it shows that an imperfect kit need not erase the experience.
I also had binoculars, and was very happy to have them.
A safari photographer, discussing binoculars after listing camera equipment, valued the viewing experience alongside the photographs. The original discussion also praises a beanbag and lens cloth in dusty conditions.
These accounts point in different directions because the travellers wanted different things. Someone serious about birds may accept a heavy long lens. Another person may be happier with a phone and an 8×32 pair. You can learn from both without copying either packing list exactly.
Three complete kits that make sense
| Traveller | Carry | Why it works | What to check before leaving |
|---|---|---|---|
| The relaxed first-timer | Phone, 8×32 or 8×42 binoculars, power bank | Light, quick, focused on seeing the animal | Phone storage, binocular comfort, charging cable |
| The keen amateur | Familiar camera, one telephoto zoom, phone for wide scenes, binoculars | Wildlife reach without many lens changes | Mount compatibility, kit weight, spare battery, practice on moving subjects |
| The dedicated wildlife photographer | Primary long-lens body, optional second body, binoculars, support and backup storage | Ready for distant and close subjects with deliberate redundancy | Flight allowance, vehicle space, backup plan and whether a private drive is worthwhile |
You might also choose a bridge camera in place of the amateur kit if you value one fixed lens more than sensor performance or lens flexibility. Whatever the route, leave space to enjoy the landscape without looking through glass. Our photography field guide can help you use the kit you choose, while the Mara game-drive guide shows how the viewing day unfolds.
Frequently asked questions
Do I need a special camera for a Kenya safari?
No. A phone can record nearby animals, people and landscapes well. A longer optical zoom helps with smaller or distant wildlife, especially birds, but buying unfamiliar equipment immediately before departure is not essential.
Is a phone enough for a Kenya safari?
It is enough to keep excellent memories, especially wide scenes and close encounters. It will not give the same distant-wildlife reach as a telephoto camera. Take binoculars for watching animals rather than relying on phone digital zoom.
Which binocular size is best for a first safari?
An 8×32 or 8×42 is a sensible starting point for most people. Try the weight, eye relief and focus wheel in person. A 10×42 offers more magnification but can show more hand shake.
Are 10×42 binoculars better than 8×42 for safari?
Not automatically. Ten-power binoculars enlarge a subject more, but eight-power models are often steadier and easier for quickly finding a moving animal. Compare both with your own hands and eyesight.
What does eye relief mean if I wear glasses?
It is the distance at which your eye can see the full field. Glasses wearers should test binoculars with their glasses on and eyecups down, rather than assuming a printed millimetre figure guarantees a comfortable view.
What camera lens focal length is useful for Kenya wildlife?
A telephoto zoom reaching roughly 300mm or more on a full-frame equivalent basis offers useful wildlife reach. Birds may need more. The best choice also depends on sensor size, lens weight, light, vehicle space and what you already know how to use.
Should I buy a bridge camera or rent a telephoto lens?
A bridge camera keeps a wide zoom range in one body but can struggle at long reach and low light. Renting a compatible telephoto lens can be better if you already know an interchangeable-lens camera. Test the rental before departure.
Can I take a large lens on a bush flight?
Often yes if the whole kit fits the booked carrier’s weight and soft-bag rules, but limits are strict and differ by carrier or charter. Weigh the camera, lens, batteries, binoculars and bag together and confirm the allowance for every flight.
Should two travellers share one pair of binoculars?
They can, but two lighter pairs often let both people follow a brief sighting at once. If you bring only one pair, decide who will use it when one person is photographing.
Keep planning your safari
Plan your Kenya photography safari
Tell us what you hope to photograph, who is travelling, your dates and whether you will fly between parks. We can shape the vehicle and route around the experience.